Why DIY Furnace Installation Seems Tempting (But May Not Be Worth It)
When your furnace fails, a DIY furnace install seems like a smart way to save on labor costs. However, replacing a furnace is far more complex than swapping out an appliance.
Key Steps for Furnace Installation:
- Obtain permits and verify local code requirements
- Disconnect old unit – gas lines, electrical, ductwork, and venting
- Position new furnace with proper clearances and leveling
- Connect utilities – gas/electric supply, ductwork, and venting system
- Commission system – test for leaks, proper airflow, and safety functions
- Schedule inspection for final code compliance approval
The reality is that a furnace installation involves gas lines, high-voltage electricity, and combustion systems that must vent properly to prevent carbon monoxide poisoning. Mistakes can void your homeowner’s insurance and manufacturer warranties, not to mention the serious safety risks.
Professional installation typically takes 10-15 hours and costs between $4,820-$9,350 nationally, including the unit. While DIY might save on labor, the potential consequences of mistakes are severe. This guide walks you through the critical details to help you make an informed decision.
The Big Decision: Professional vs. DIY Furnace Installation
This initial choice is the most critical one in your furnace install journey. While DIY seems like a way to save money, professional installation offers crucial advantages. Understanding these trade-offs is essential before you begin.
| Factor | Professional Installation | DIY Installation |
|---|---|---|
| Upfront Cost | Higher (includes labor, permits, unit markup) | Lower (unit cost + materials) |
| Long-Term Cost | Lower (optimal efficiency, fewer repairs, longer lifespan) | Potentially Higher (inefficiency, frequent repairs, early replacement) |
| Safety | Ensured (licensed pros handle gas/electrical, CO risks) | High Risk (gas leaks, electrical shock, carbon monoxide) |
| Time Commitment | Minimal for homeowner (installation usually 1-2 days) | Significant (research, sourcing, installation, troubleshooting) |
| Warranty Validity | Typically Valid (most manufacturers require pro install) | Often Voided (if not installed by certified professional) |
| Code Compliance | Guaranteed (pros pull permits, adhere to local codes) | Uncertain (risks fines, difficulty selling home) |
The Case for Professional Installation
For a furnace install, professional expertise is an investment in your family’s safety and comfort for the next 15 to 20 years.
- Safety First: HVAC technicians are trained to handle natural gas, high-voltage electricity, and carbon monoxide risks. They ensure gas lines don’t leak, wiring won’t cause fires, and combustion gases are vented safely.
- Certified Expertise: NATE-certified technicians understand the complex interplay of airflow, gas pressure, and electrical systems required for peak performance.
- Proper Furnace Sizing: A pro performs a Manual J load calculation based on your home’s size, insulation, windows, and climate. Incorrect sizing leads to an inefficient furnace that cycles too often (too big) or runs constantly (too small), wasting energy and money.
- Code Compliance: Professionals know local building codes, pull the right permits, and ensure your installation passes inspection. As we explain in our guide on why Professional Furnace Installation Matters, this protects your safety and home value.
- Warranty Protection: Most manufacturers will void your warranty if the unit isn’t installed by a licensed professional, leaving you to pay for future repairs out-of-pocket.
- Peace of Mind: Knowing that experts handled the installation and testing provides invaluable peace of mind.
- Access to Better Equipment: Many top-tier, high-efficiency units are only sold through licensed contractors.
The Allure and Risks of a DIY Furnace Install
We understand the appeal of a DIY furnace install. The cost savings can be significant, and it can be a rewarding project. However, the risks are substantial.
- Gas Leaks: An improperly sealed connection can lead to a flammable gas leak, creating an explosion hazard.
- Carbon monoxide (CO) Exposure: This colorless, odorless gas is a byproduct of combustion. Imperfect venting can allow CO to seep into your home, which can be fatal.
- Electrical Hazards: High-voltage connections require precise knowledge. Mistakes can lead to shock, short circuits, or fires.
- Financial Risks: Beyond safety, most manufacturers will void your warranty for a DIY install. Furthermore, your homeowner’s insurance may deny claims for damage caused by unpermitted or improperly installed equipment.
- Failed Inspections: Unpermitted work can result in fines, orders to redo the installation, and problems when selling your home.
For most homeowners, the risks of a DIY furnace install far outweigh the potential savings. Professional installation is the safer and smarter choice.
Understanding the Core Components and Costs
Before starting a furnace install, you need to understand the equipment and budget. The furnace type, your home’s size, and your existing system all impact the project’s scope and cost.
How Furnace Type Affects Installation and Cost
The type of furnace you choose changes the installation process and upfront cost.
- Natural Gas Furnaces: The most common choice where gas lines are available. They are cost-effective to run. High-efficiency models (96% AFUE or higher) use PVC pipes for venting instead of a metal flue.
- Propane Furnaces: A great option when natural gas is unavailable. They require a large storage tank on your property.
- Electric Furnaces: The simplest to install, with no gas lines or complex venting. However, electricity is often more expensive than gas, especially in colder climates.
- Oil Furnaces: Produce excellent heat but require an oil storage tank, and fuel costs can be high.
The Annual Fuel Utilization Efficiency (AFUE) rating indicates how efficiently the furnace converts fuel to heat. Modern furnaces must be at least 80% AFUE, with high-efficiency models reaching 98%. These models cost more but may qualify for federal tax credits for high-efficiency models to help offset the price.
Decoding the Price Tag: What Influences Furnace Installation Cost?
Furnace installation is a significant investment. Nationally, a complete furnace install can range from $4,820 to $9,350, including the unit and labor. This wide range is due to several factors:
- Unit Price: Varies based on type, brand, and efficiency.
- Labor Costs: A major component, reflecting the specialized skills, tools, and certifications of professional technicians.
- Ductwork Modifications: If your existing ducts are damaged, improperly sized, or old, they may need to be repaired or replaced, adding to the cost.
- Permit and Inspection Fees: Required by your municipality to ensure the work meets safety codes.
- Extras: Costs can also include removal and disposal of the old unit, thermostat upgrades, and custom plenums or transitions to connect the new furnace to existing ductwork.
The Critical Role of Sizing and Load Calculation
Proper sizing is perhaps the most critical part of a furnace install. Simply matching the size of your old unit is often a mistake. A professional performs a Manual J load calculation, which considers your home’s square footage, insulation, windows, and local climate to determine the exact heating capacity you need.
- Oversized Furnaces: Heat the home too quickly and shut off, a process called short cycling. This wastes energy, creates uneven temperatures, and causes premature wear.
- Undersized Furnaces: Run constantly to keep up, driving up energy bills and straining components.
Both scenarios lead to higher energy bills and uneven heating. A properly sized furnace, on the other hand, operates efficiently and maintains consistent comfort. This is why professional sizing is so important when choosing the best HVAC system for your home.
A Step-by-Step Guide to a Successful Furnace Install
A proper furnace install follows a precise sequence to ensure safety and efficiency. Understanding this process is key, whether you hire a pro or consider a DIY project.
Phase 1: Pre-Installation Prep and Safety
Thorough preparation is the foundation for a successful furnace install. Rushing this phase is a common DIY mistake.
- Obtain Permits and Verify Codes: Permits are a safety net, ensuring work meets local building codes. Professionals are familiar with these requirements, which vary by location.
- Shut Off Utilities: The gas supply and the electrical breaker for the furnace must be shut off completely. Always use a multimeter to confirm the power is off.
- Assess Existing Systems: An installer will check if current ductwork and wiring are properly sized, sealed, and safe for the new unit.
- Clear the Area: Ensure the workspace is clean, clear of stored items, and well-ventilated.
- Essential Tools: A professional install requires tin snips, pipe wrenches, a multimeter, a manometer (for gas pressure), a drill, and a caulk gun. Safety gear like glasses, gloves, and a CO detector are mandatory.
Familiarizing yourself with common HVAC terminology can help you communicate effectively with your installer.
Phase 2: Removing the Old Unit and Site Prep
This phase involves careful dismantling of the old system.
- Disconnect Controls: Start with the low-voltage thermostat wires.
- Disconnect Power: The high-voltage electrical supply must be safely disconnected.
- Disconnect Fuel Line: The gas or oil line must be shut off and carefully disconnected.
- Detach Venting: The flue or PVC vent pipe is separated from the unit.
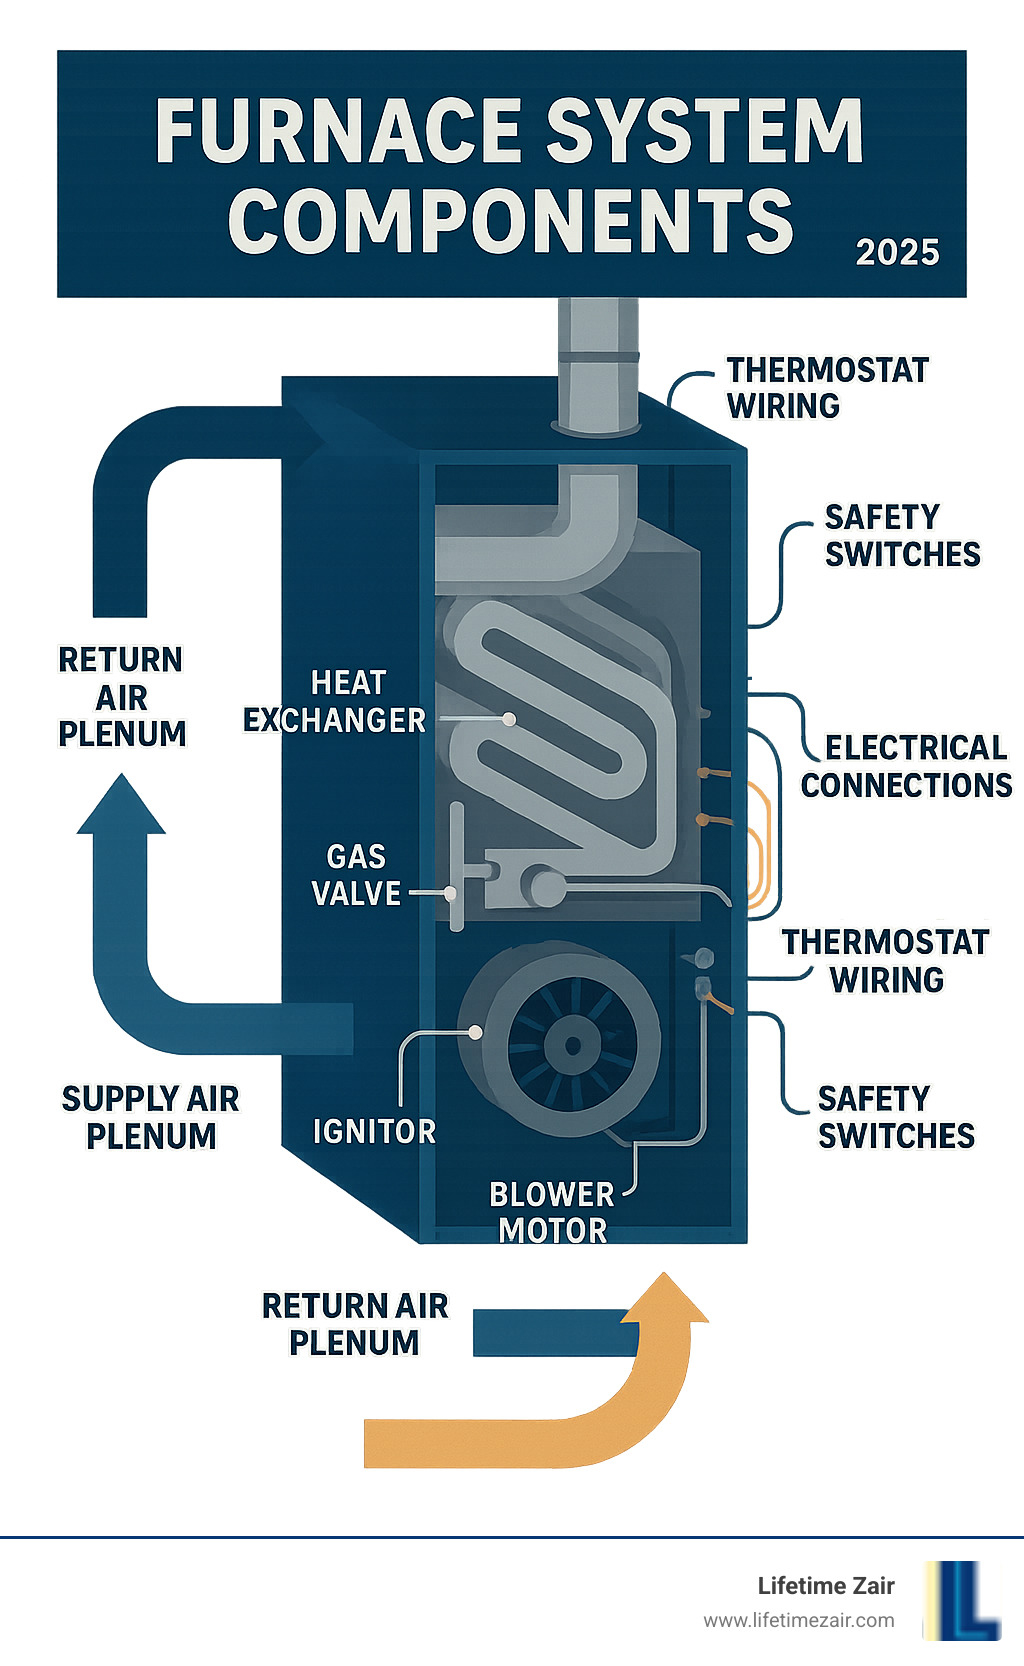
- Separate from Ductwork: The large supply and return plenums are detached.
- Remove Old Furnace: These units are heavy and bulky, often requiring two people.
- Clean the Area: Prepare a clean, level surface for the new furnace.
Phase 3: Setting the New Furnace and Making Connections
Precision is critical in this phase. There is no room for error with gas, electrical, and combustion systems.
- Position and Level New Furnace: The unit must be perfectly level for proper operation and drainage, especially for high-efficiency models.
- Connect to Ductwork: This may require fabricating new sheet metal transitions for an airtight fit. All duct connections must be sealed with mastic or foil tape (not standard duct tape).
- Connect Fuel Line: Gas connections require a shut-off valve and drip leg. All joints must be tested for leaks.
- Wire Electrical Connections: High-voltage and low-voltage thermostat wires must be connected exactly according to the wiring diagram.
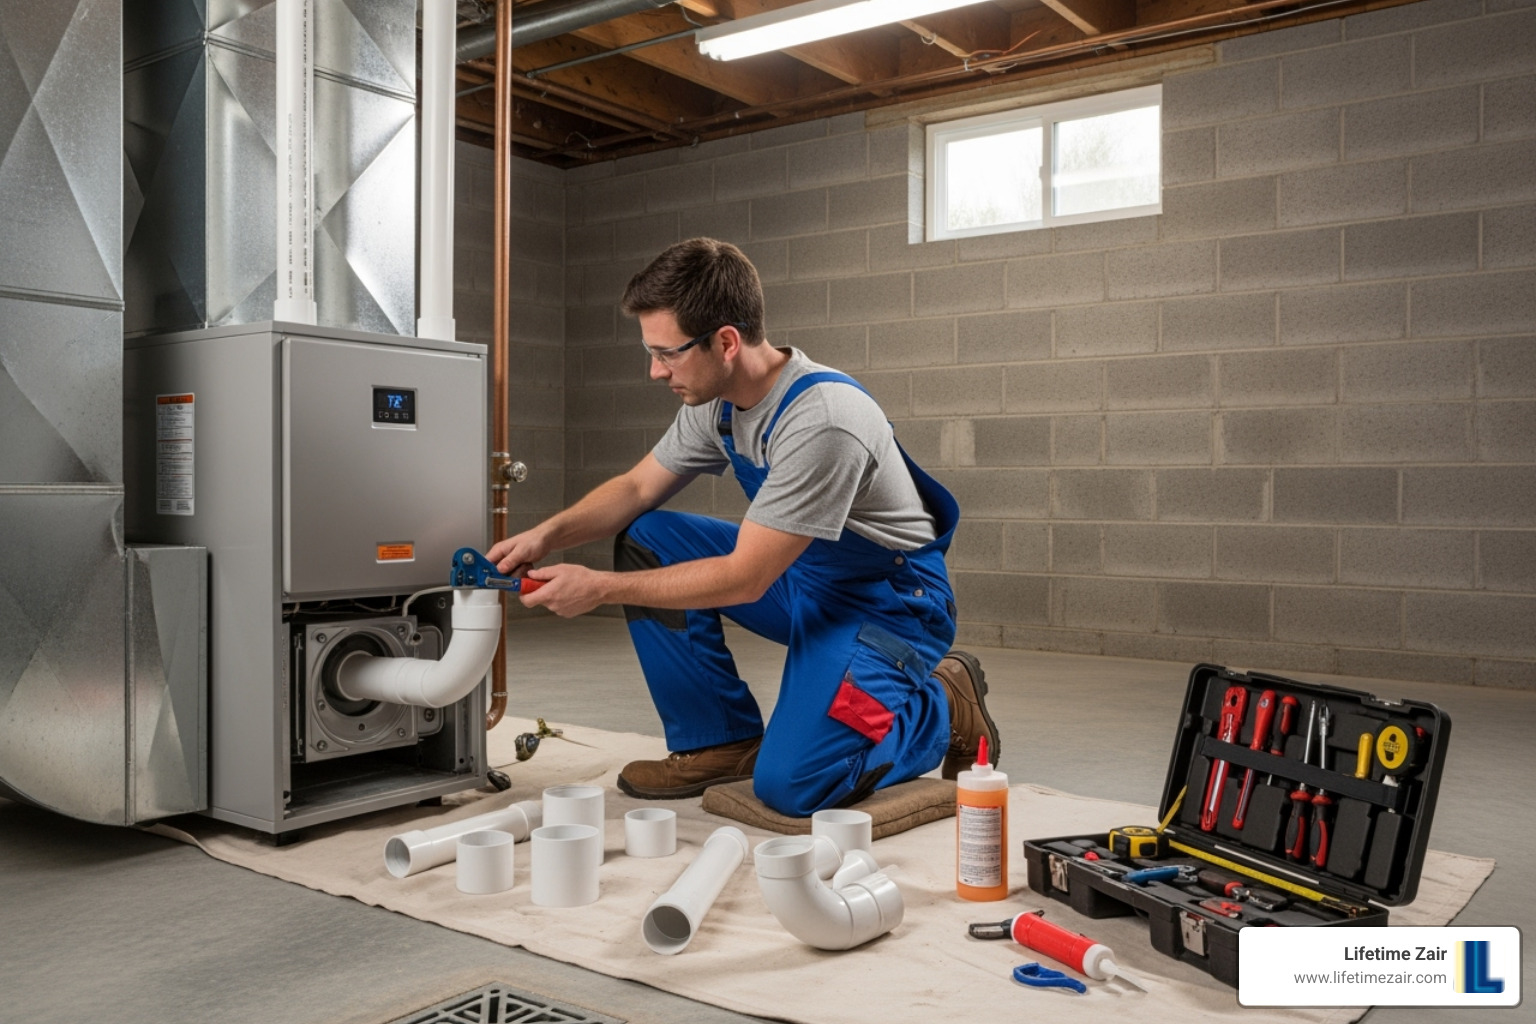
- Install Venting: High-efficiency units require new PVC venting, which must be properly sloped and terminated safely outside.
- Run Condensate Line: A drain line is installed to handle the acidic water produced by high-efficiency furnaces.
Phase 4: Commissioning, Testing, and Final Inspection
This final phase ensures the furnace operates safely and efficiently according to manufacturer specifications.
- Commissioning: This systematic process fine-tunes the furnace for optimal performance. It includes checking for gas leaks, testing static air pressure, and measuring the temperature rise to ensure it’s within the manufacturer’s specified range.
- Verifying Safety Switches: All safety controls, like the limit switch and flame sensor, must be tested to ensure they function correctly.
- Final Inspection: A municipal inspection provides official confirmation that your furnace install meets all local codes and safety standards.
Post-Installation: Maintenance and Long-Term Care
Congratulations! Your furnace install is complete, but proper care is just beginning. Like a new car, your furnace needs regular maintenance to run efficiently for its 15-20 year lifespan. A neglected system can increase energy bills by 30-50% and shorten its life dramatically.
Your Role in Furnace Longevity
A few simple tasks can make a huge difference in your furnace’s performance.
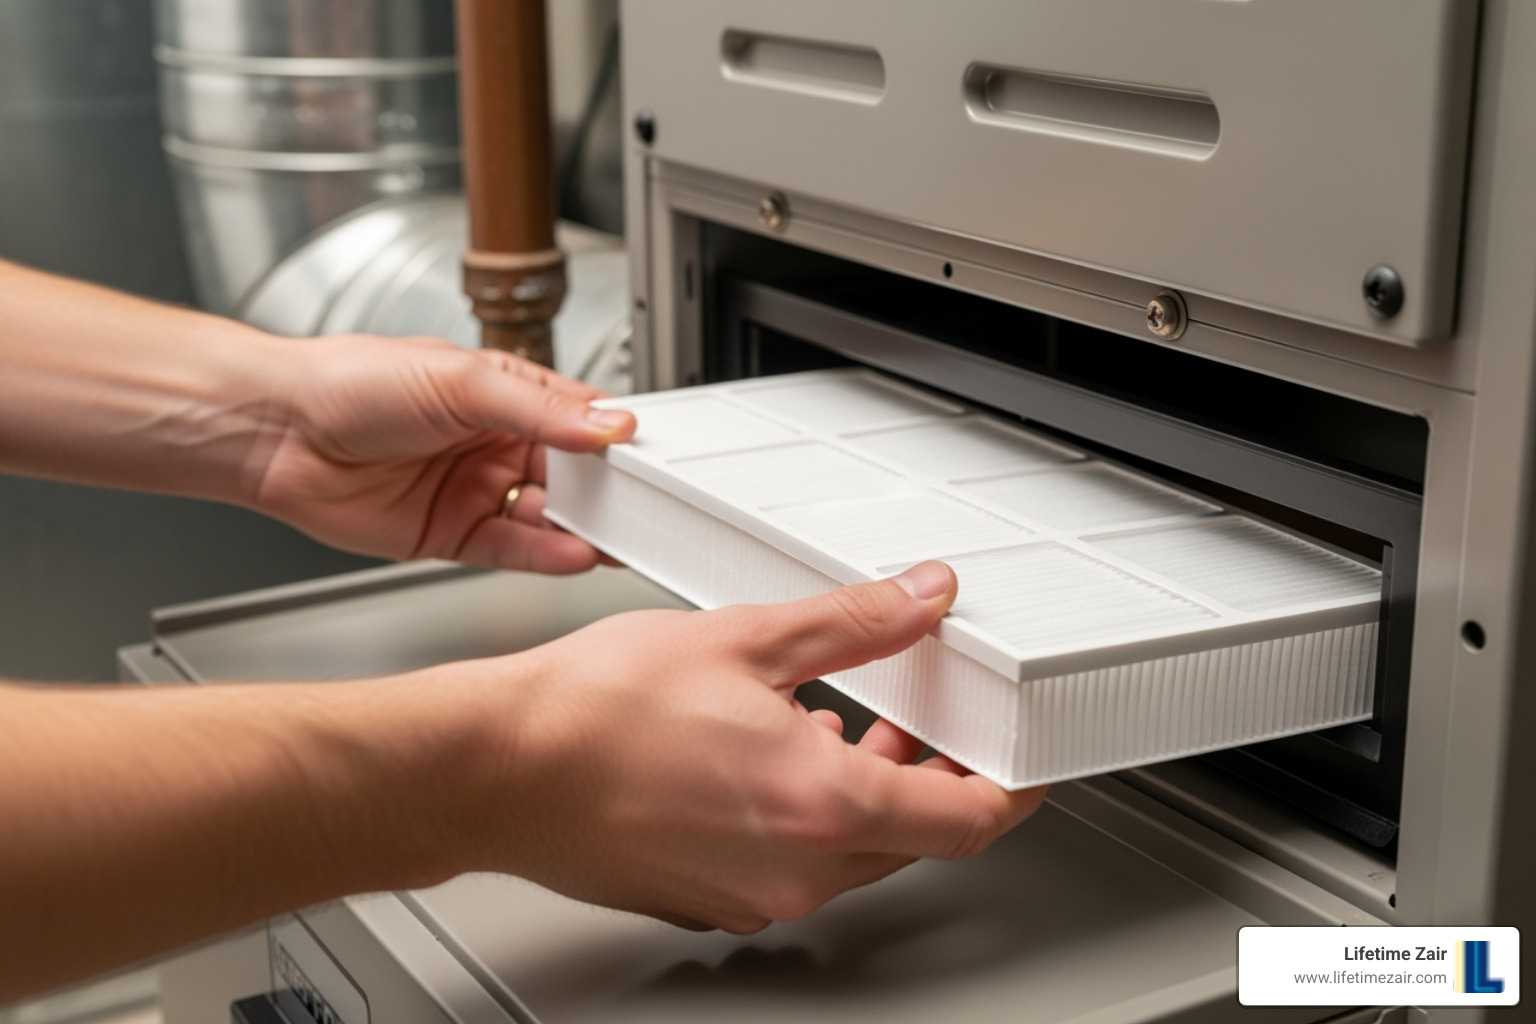
- Change the Air Filter: This is the most important task. A clogged filter restricts airflow, forcing your furnace to work harder, which wastes energy and can damage components. Change standard 1-inch filters every 1-3 months. Thicker 5-inch media filters typically last up to a year.
- Keep Vents Unblocked: Ensure furniture, rugs, or curtains don’t block supply and return vents. Proper airflow is essential for efficiency and even heating.
- Use Your Smart Thermostat: If you installed one, learn its features. Programming schedules and using energy monitoring tools can lead to significant savings.
- Listen for Unusual Sounds: Grinding, banging, or squealing sounds are warning signs. Call a professional if you hear anything out of the ordinary.
The Importance of Annual Professional Maintenance
While homeowner tasks are important, an annual professional tune-up is essential.
- Safety Inspections: A technician will check for gas leaks, test for carbon monoxide, and ensure the venting system is clear and safe.
- Cleaning and Tuning: A pro can safely clean critical components like the burners, blower motor, and heat exchanger. They also lubricate parts and tighten electrical connections.
- Maximizing Efficiency: A well-tuned furnace uses less energy, which lowers your utility bills.
- Preventing Breakdowns: Annual maintenance catches small problems before they become major, expensive emergencies.
- Fulfilling Warranty Requirements: Most manufacturers require proof of annual professional maintenance to keep your warranty valid.
We make it easy to stay on top of maintenance with our service plans. Scheduling routine HVAC services will keep your system running smoothly year-round.
Frequently Asked Questions about Furnace Installation
Replacing your furnace is a big decision. Here are answers to some of the most common questions we hear about a furnace install.
How long does a furnace installation take?
For a standard replacement, a professional furnace install takes about 10 to 15 hours, usually completed in a single day. More complex jobs, like those needing new ductwork or fuel line conversions, can take two days or more. We provide a realistic timeline upfront so you can plan accordingly.
What is the difference between replacing a furnace and a new install?
While the terms are often used interchangeably, they mean different things.
- A furnace replacement involves swapping an old unit for a new one in the same location, using existing ductwork, wiring, and fuel lines. This is the most common scenario for homeowners and is more straightforward.
- A new furnace install is typical for new construction or major renovations. It involves installing a complete system from scratch, including all-new ductwork, electrical circuits, and fuel lines. This is a much larger and more labor-intensive project.
Can a DIY furnace install void my homeowner’s insurance?
Yes, it absolutely can, with potentially devastating financial consequences. If your DIY furnace install causes a fire, gas leak, or other damage, your insurance company will likely deny your claim. They can argue the damage resulted from unpermitted, negligent, or non-compliant work.
The money saved on labor is insignificant compared to the cost of repairing major home damage out-of-pocket. Before considering a DIY approach, read your insurance policy carefully and speak with your agent about the risks.
Conclusion: Is a DIY Furnace Install Right for You?
After reviewing the process, it’s clear a DIY furnace install is too risky for most homeowners. While saving on labor is tempting, the potential consequences are severe. Gas leaks, improper venting, and electrical mistakes can lead to fires or carbon monoxide poisoning. If something goes wrong, your homeowner’s insurance may not cover the damage, and your manufacturer’s warranty will likely be void.
The peace of mind from a professional installation is priceless. When you hire certified technicians, you are investing in safety, proper sizing, code compliance, and warranty protection.
Today’s high-efficiency furnaces require precise commissioning and specialized tools that go beyond a weekend tutorial. If you’re ready to have your furnace install done right the first time, our expert team at Lifetime Zair is here to help ensure your family’s comfort and safety.
Contact us today for a professional consultation and a free estimate on your furnace replacement in Dallas, TX. Your family’s safety is worth the investment.
